Showing posts with label project. Show all posts

Monday, October 5, 2015

Cutting Board Kitchen Chalkboard

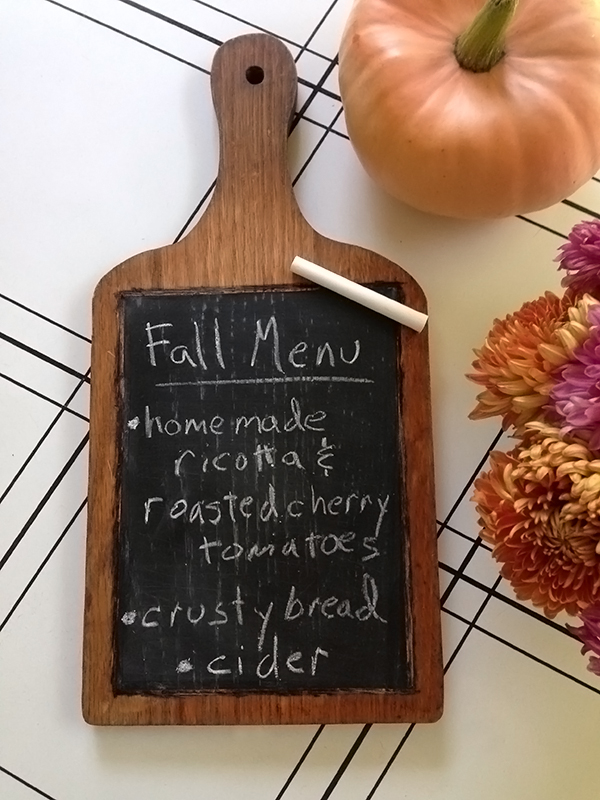
My mom gave me an old cutting board and I had the idea to turn it into a kitchen chalkboard.
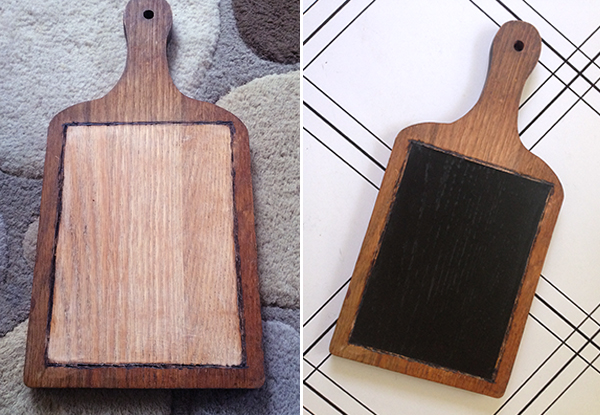
First I marked off a rectangle on the board and wood burned a border. Then Aaron sanded the rectangle until it was nice and smooth. I taped off the area with masking tape and painted it with chalkboard spray paint. It's my favorite way to create a chalkboard surface since it goes on so smoothly.
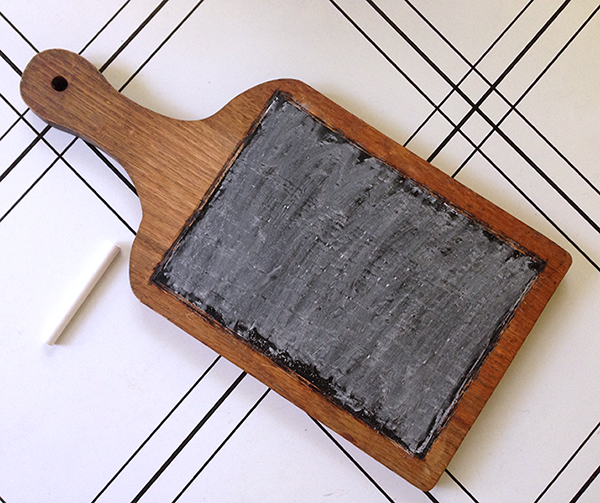
Chalkboard tip: Did you know that before you start using a chalkboard, you should "cure" it by rubbing chalk all over the surface and then wiping it off. If you don't, it will be really hard to erase the first thing you write on the board.
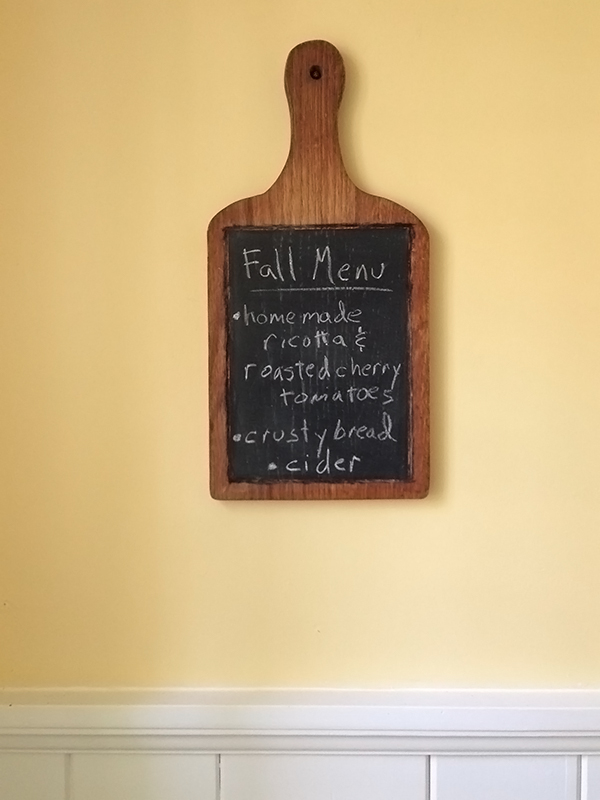
Now I have a really cute kitchen chalkboard. I can write grocery lists, holiday messages or my favorite... the dinner menu. Writing out the menu makes me feel fancy.
Monday, December 15, 2014

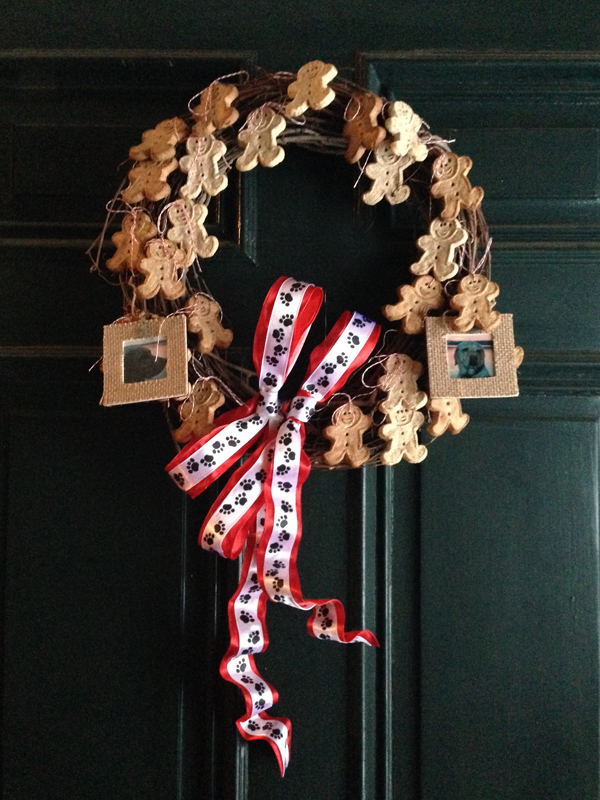
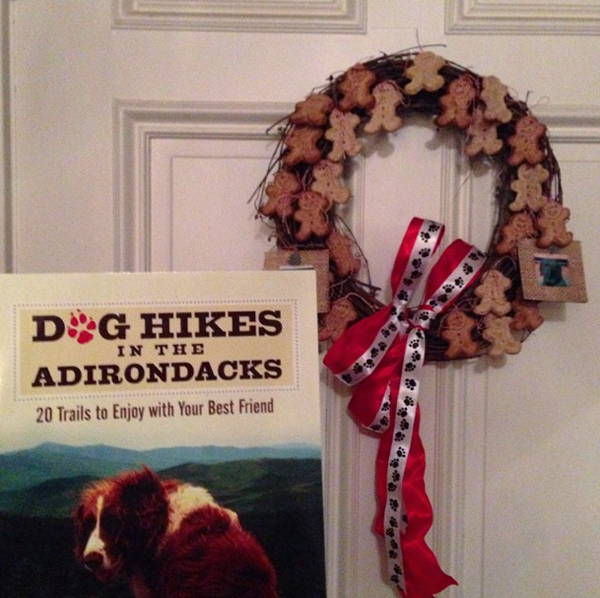
Secret Santa dog biscut wreath - nailed it

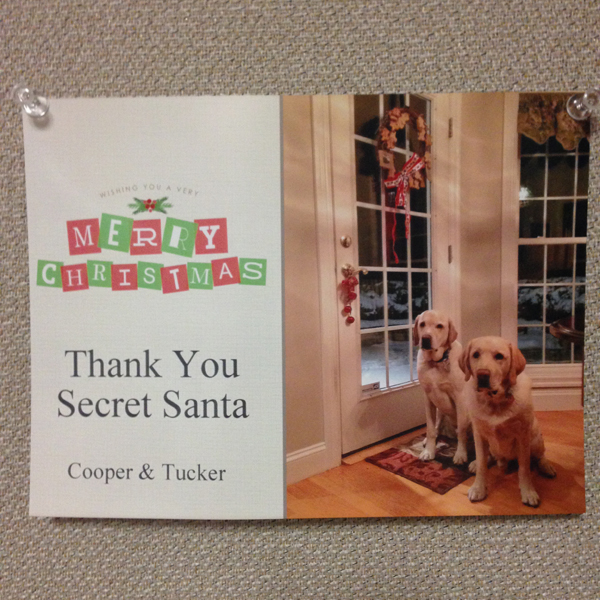
What do you do when you draw the Secret Santa name of a guy that has two dogs and loves to hike? You make a dog biscuit wreath...

And find the most perfect book to go with it! Surpreme Secret Santa Success this year.

UPDATE: Secret Santa Success!

Friday, November 28, 2014

Thankful Jar

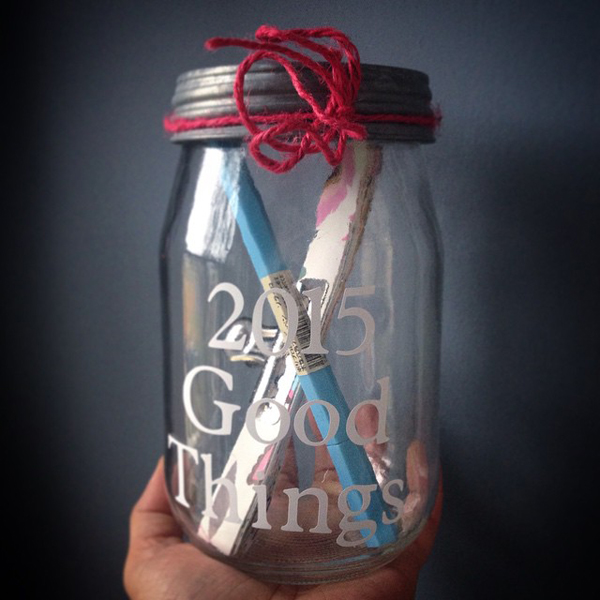
I saw a really great idea on Facebook for making a Thankful Jar. The idea is to start the year with an empty jar and fill it with a slip of paper when good things happen. Then on New Years you empty the jar and read all the things you have to be thankful for. I figured it could be a New Years tradition or Thanksgiving. I was pretty excited about starting our own so I made the jar now.

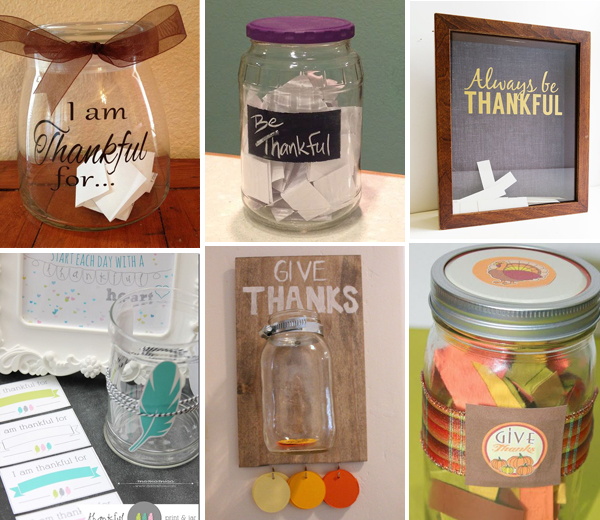
I found some more Thankful Jar ideas on Pinterest. The pins for these jars are: I am thankful for | Be thankful | Always be thankful | Start each day with a thankful heart | Give thanks | Give thanks

Wednesday, November 26, 2014

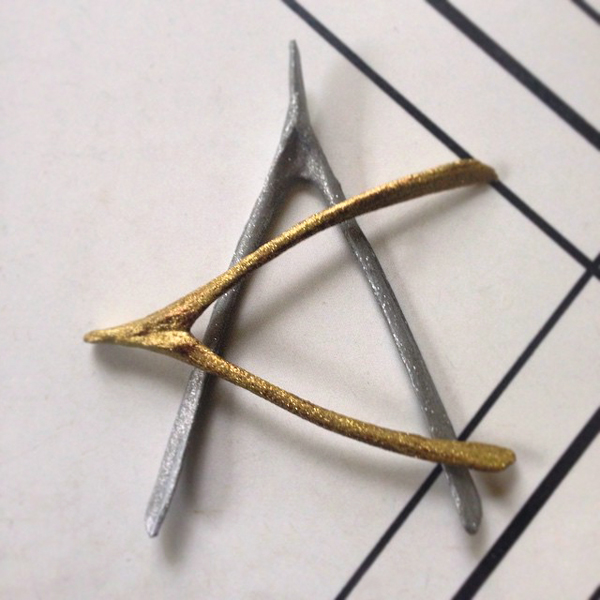
Glitter wishbones

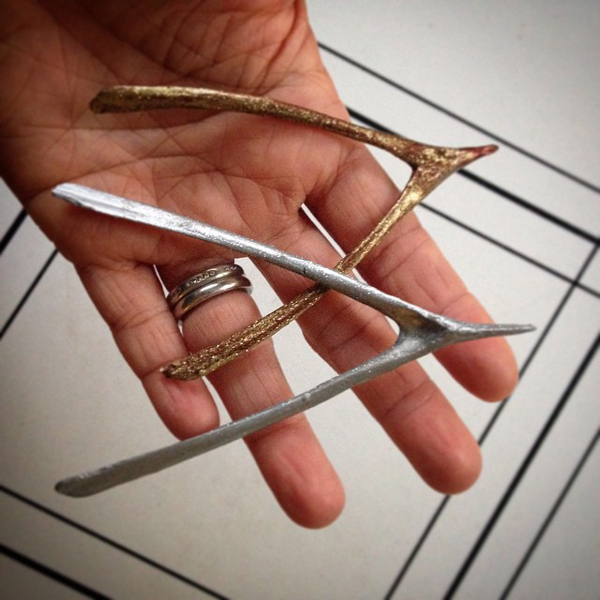
I saved the wishbones from the last two Thanksgivings with the intention of doing something crafty with them. I painted them metallic and added some glitter. It was pretty clear they needed more glitter.

I don't think "enough glitter" is a thing but I think these will do for now.

Thursday, April 17, 2014

Easter Photo Projects

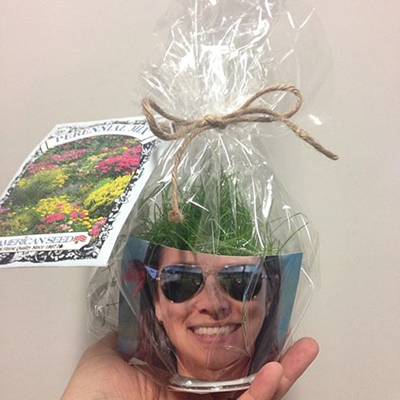
My friend Patricia made everyone at the office these grassy hair photo gifts. I thought it was so cool! She would have had to start them awhile ago to have the grass long enough.

It's one of the Easter/Spring projects from the Kodak Tips and Projects Center.

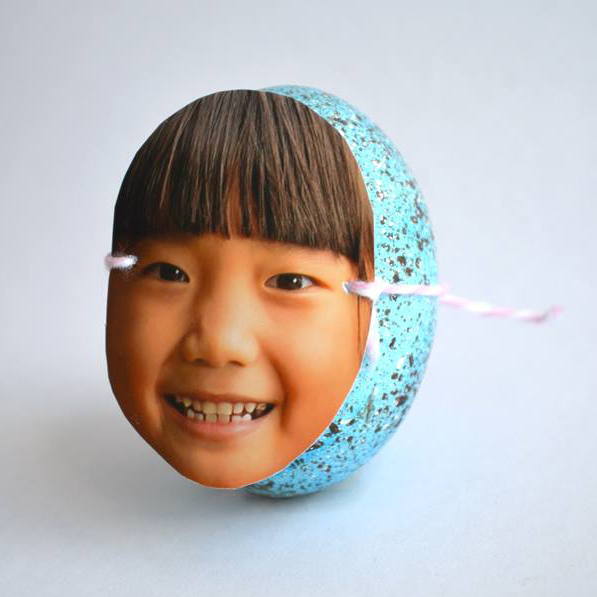
I made a few of the projects for Easter too, like the photo egg masks...

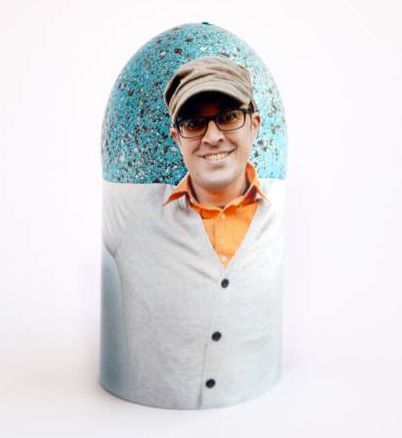
and oh hey who is the guy in this photo egg holder project?!

Friday, February 28, 2014

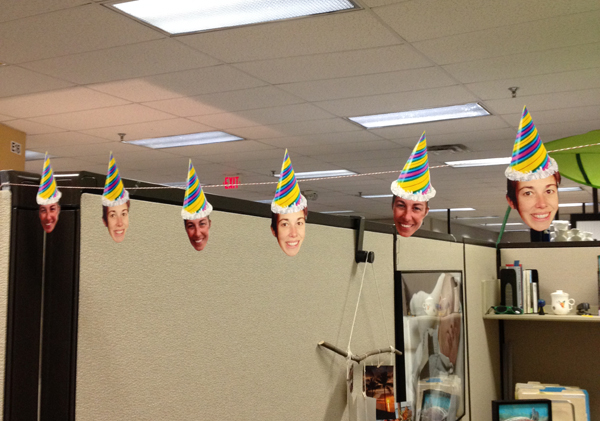
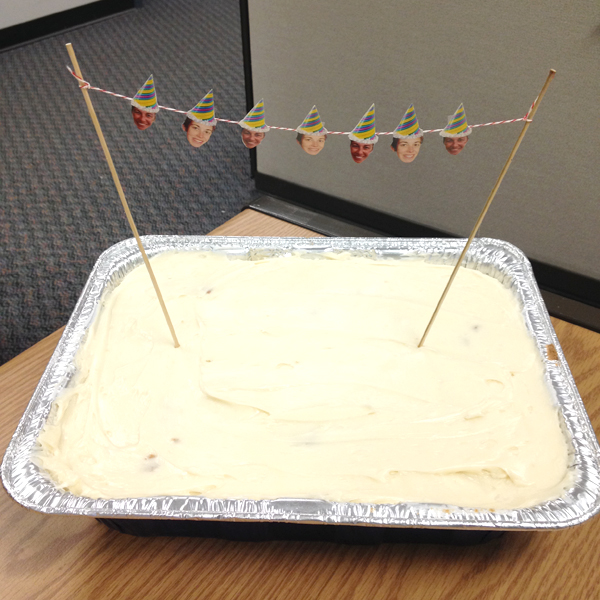
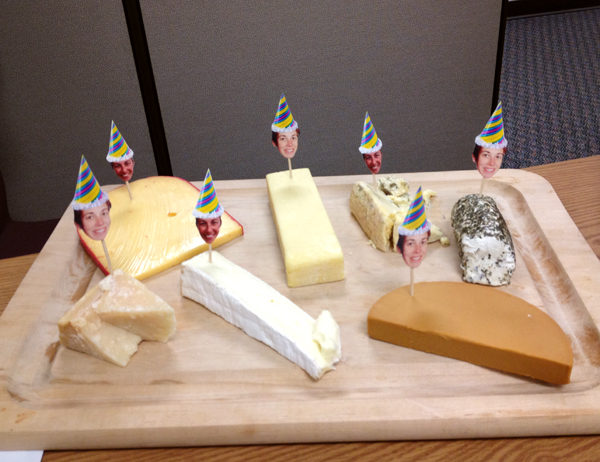
Paulette Birthday Heads!

Today is Paulette's birthday and we wanted to have some fun in the office. I used this Kodak Tips and Projects birthday banner idea as inspiration to make some Paulette decorations. Paulette garland...

... Paulette bunting on her birthday carrot cake...

... and a Paulette cheese tray! Paulette everywhere!

Sunday, May 26, 2013

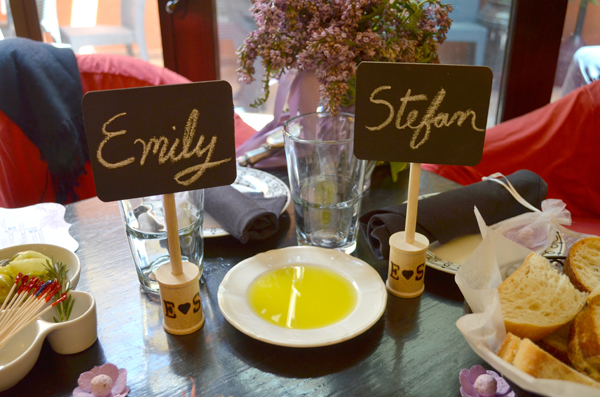
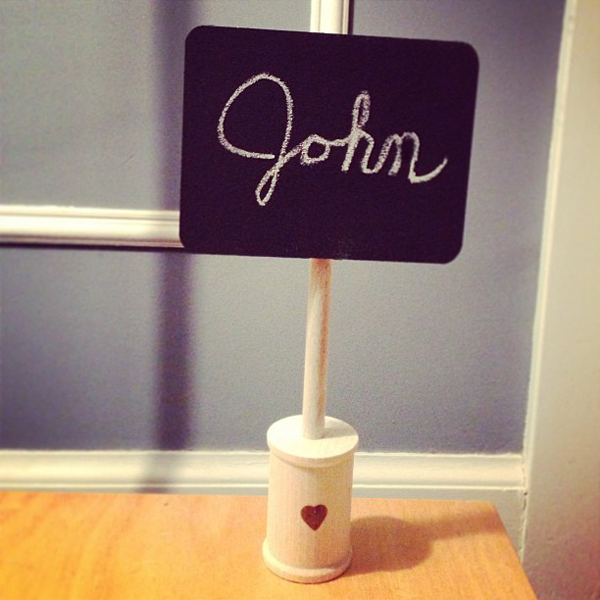
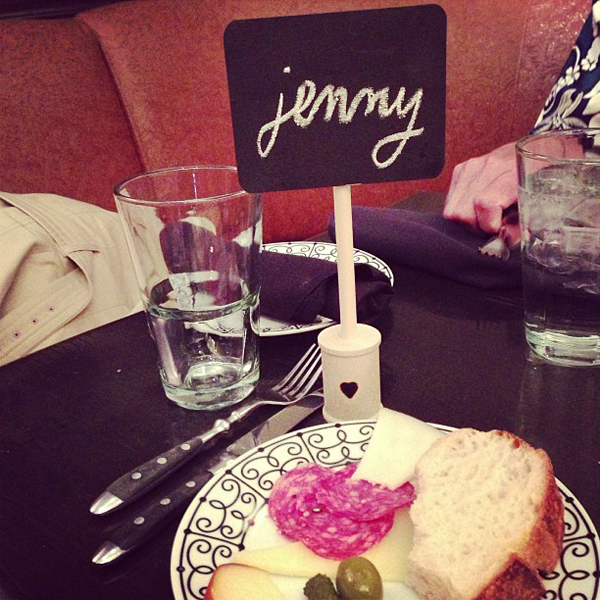
Wedding favors/place setting chalkboard signs

My sister asked me to make her place settings/favors for her wedding reception. A crafter's dream come true.

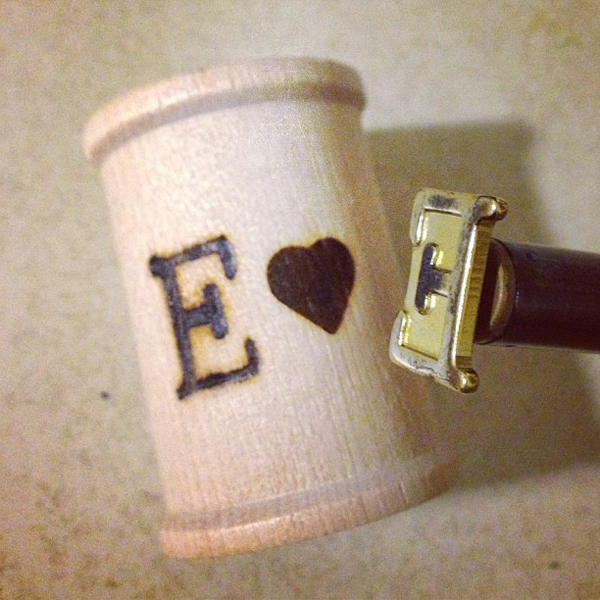
She sent me a link to chalkboard signs and I decided to put my own twist on it by using wood spools for the base.

I was also very, very excited to use my new wood burning tool. Did I mention I was excited?

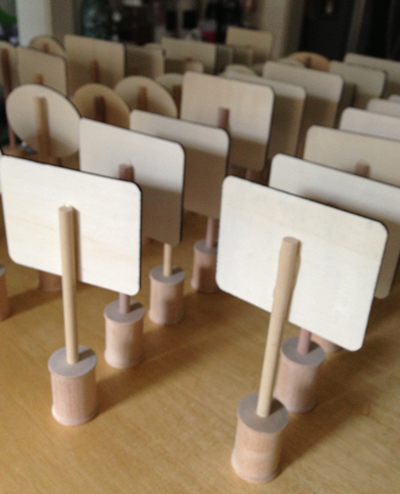
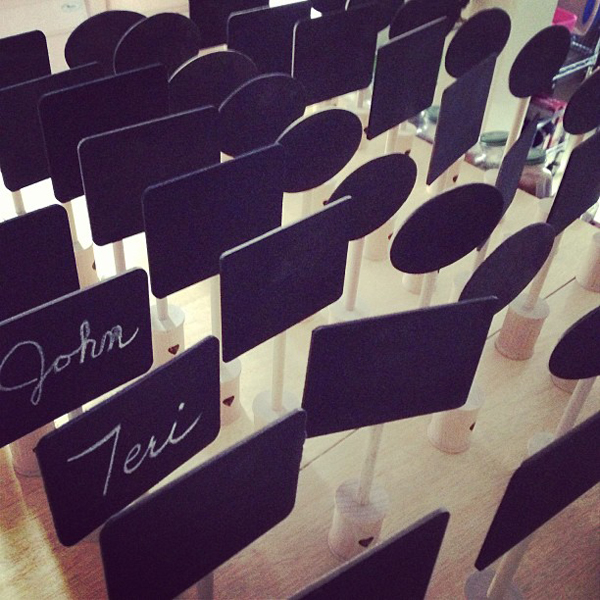
They were very simple to make. While I was painting all the plaques with chalkboard paint and wood burning the spools, Aaron cut dowel rods to size for me. Then I just used hot glue to attach the rods to the plaques and then pushed the into the spools.

I had a mass productiong going on. About fifty of these puppies.

I think they turned out really cute. Here is mine in action!

Friday, May 25, 2012

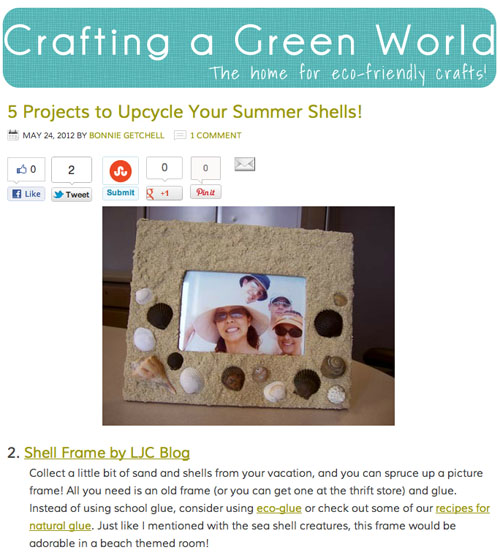
Beach frame in Crafting a Green World

My shell frame project was featured in Crafting a Green World Blog! It's a great project for summer and it's fun to hunt for shells at the beach for your frame. I just get some sand in an empty water botter to take home for the frame base.

Wednesday, March 28, 2012

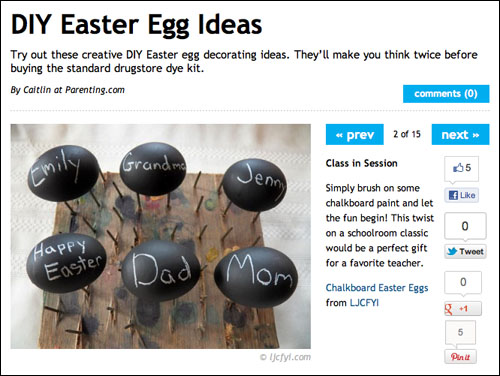
DIY Easter Egg Ideas on parenting.com

I was happy to see parenting.com feature another one of my crafts... my chalkboard eggs!

Check out the other DIY Easter Egg Ideas they have on their site!

Friday, March 9, 2012

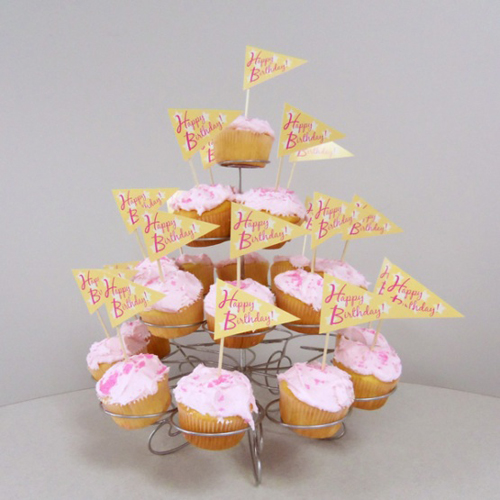
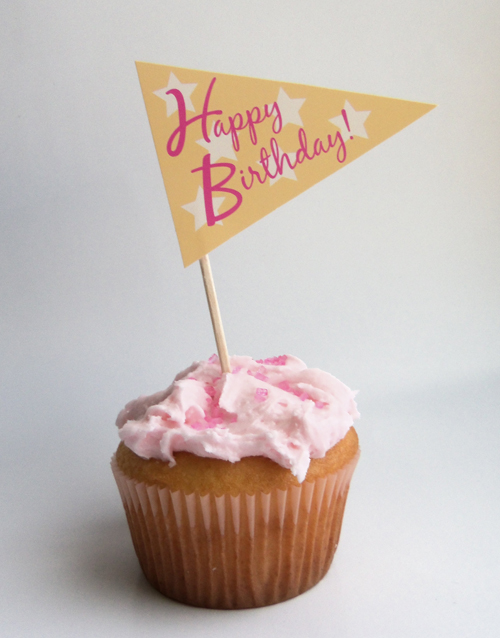
Cupcake Birthday Pennants

Today was my friend and co-worker, Mary Irene's birthday. I baked cupcakes to celebrate and to make it extra special I designed cupcake birthday pennants for on top.
Mary Irene is the community manager for the Tips & Projects Community so I knew she would not only love the cupcakes but the printables uploaded for all to use.

If you need some cupcake birthday pennants to spruce up your celebration - you can download the pdf here.

(Happy Birthday to my Grandma too!)

Sunday, November 27, 2011

Handmade wreaths

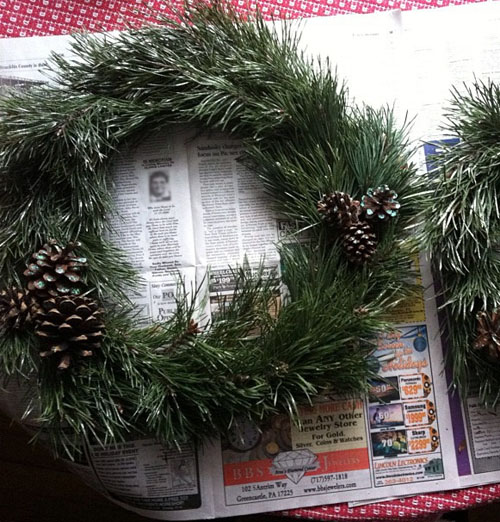
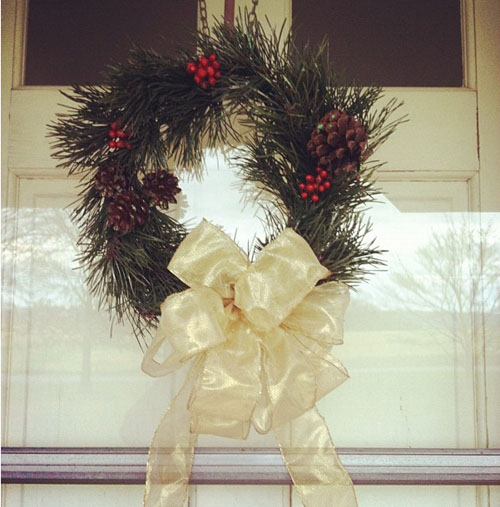
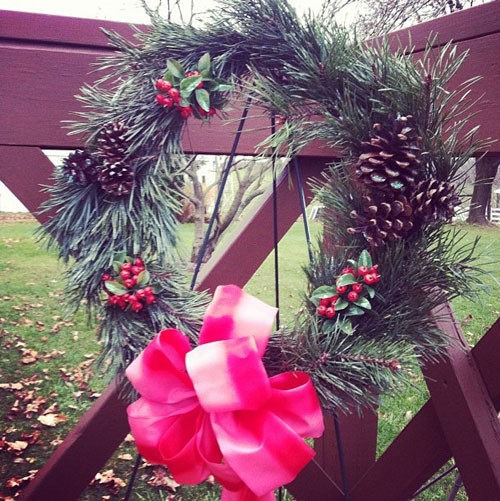
My grandma had two wreath frames so I gathered branches off of her pine trees and handmade two wreaths.

I made one for on my Grandma's door.

And one for on my Grandpap's grave.

It was a lot easier than I expected. I googled "how to make a wreath" and made it up from there.

Sunday, October 30, 2011

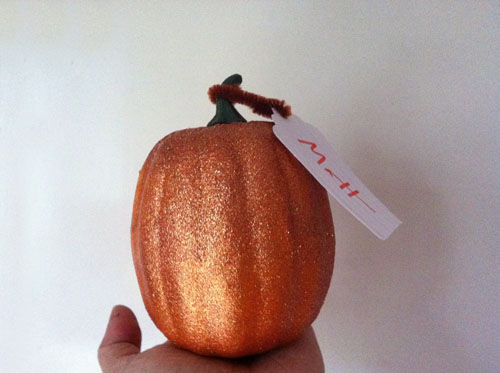
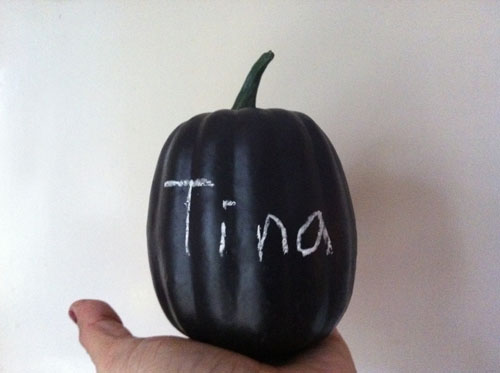
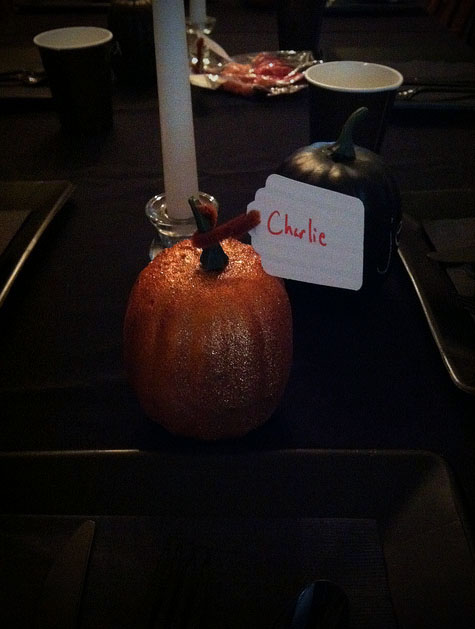
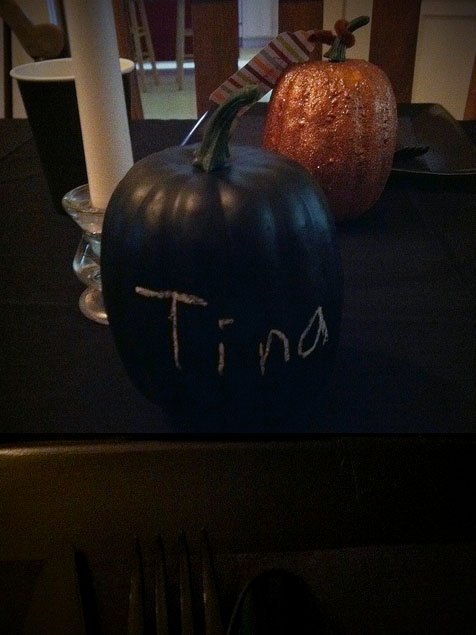
Glitter and chalkboard pumpkins

I had to come up with Halloween party favors/place settings as good as last year's spooky black pumpkins.

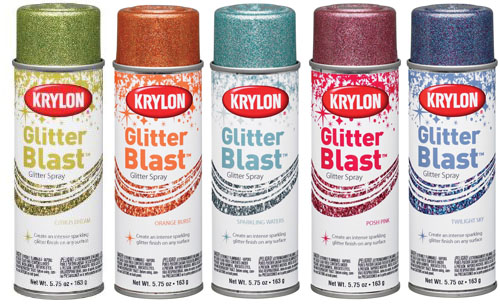
That's where my two newest crafting supply discoveries came in. Glitter blast glitter spray...

... and chalkboard spray!

I got these little plastic pumpkins at The Dollar Tree for a dollar each and then spray painted my little heart out. More on that later. The glitter spray is tricky.

I think they made nice place settings.

And were something cute for the party goers to take home.

Wednesday, October 5, 2011

Sunday, August 14, 2011

Chalkboard frame

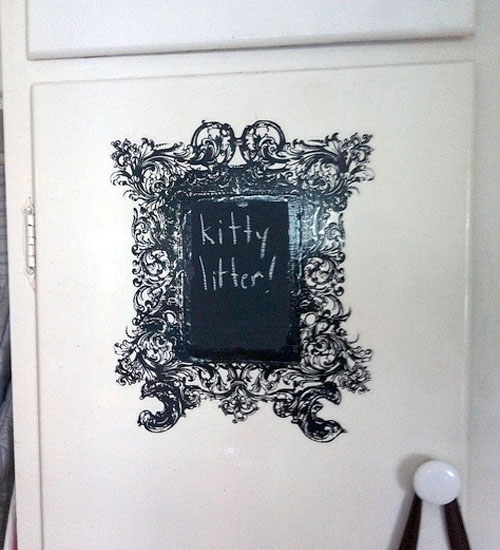
My latest chalkboard project. I had a picture frame decal I wasn't sure what to do with. So I painted a square of chalkboard paint on one of my kitchen cupboards then put the decal over it. It's a little spot where I can write shopping list notes.

Monday, July 18, 2011

Chalkboard filing cabinet

I have been working on organizing our office which involves filing away a lot of paperwork.

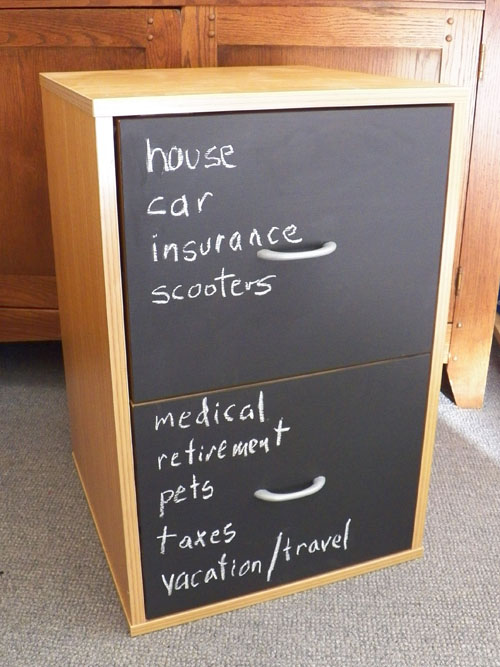
It's been a few days since I have painted something with chalkboard paint so the filing cabinet fell victim.

I think the cabinet looks cuter now and I like being able to label what is in each drawer. I can't believe I haven't polished off this can of chalkboard paint yet.

Tuesday, July 5, 2011

Labels

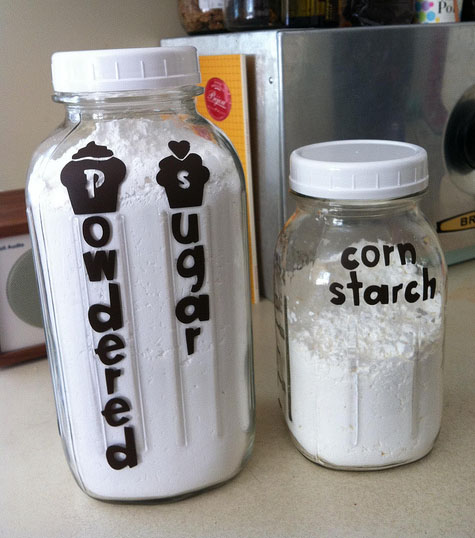
I put some of my baking supplies in jars but I didn't want to paint chalkboard paint on them because they are vintage canning jars. So instead I made labels on my Cricut.

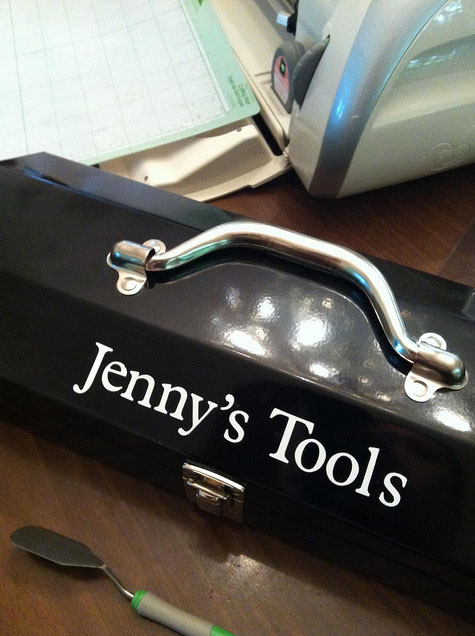
Since I had the Cricut out I made a special label for my toolbox too. A certain someone was "borrowing" my tools and leaving them out in the garage so I just wanted to make it nice and clear. Heh.

Monday, June 27, 2011

Day 27: 30 Days of Creativity - Pet Pillows

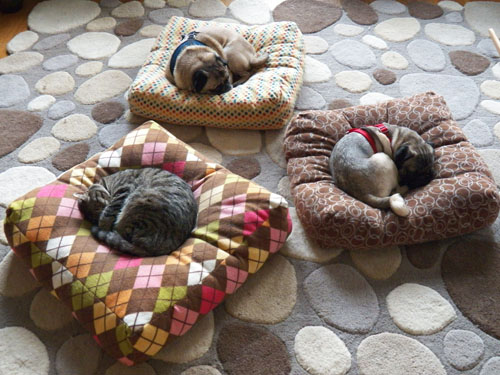
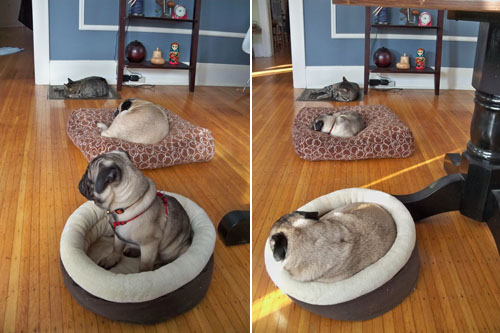
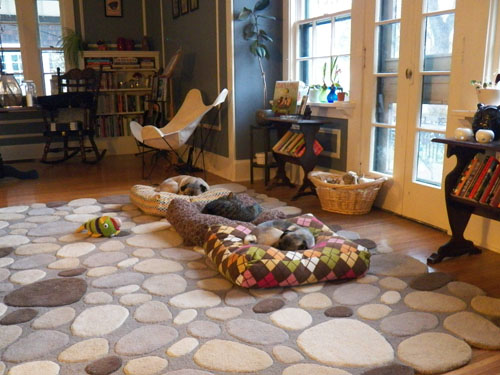
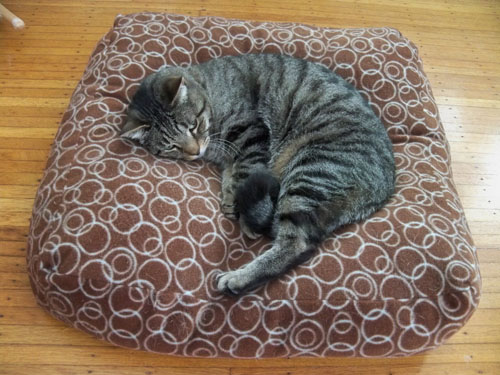
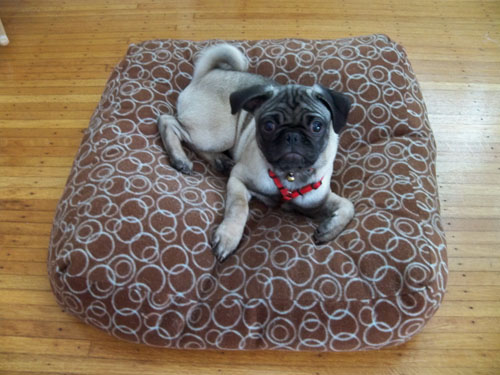
For Day 27 of 30 Days of Creativity I made the boys pet beds. Well, I made them a bit ago, but I'm finally blogging about them.

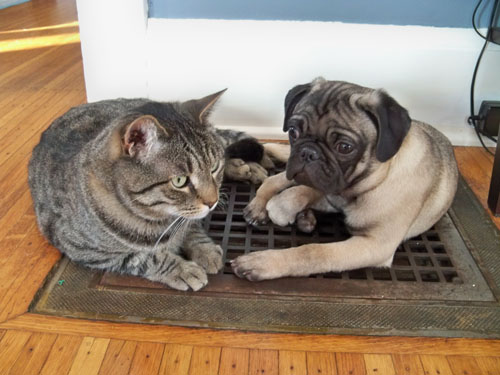
You see once upon a time these poor animals had nothing but the hard cold floor to lay on. They would huddle on the heat vents for warmth.

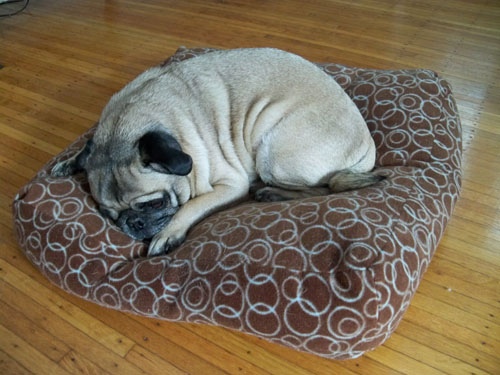
I started with one pet bed. Cute fleece sewn up on my sewing machine and stuffed.

Problem was they had to take turns on it.

That wasn't going to work.

There was always jealousy directed at the one that got the nice soft pillow.

So I made each of them their own bed and now they can sleep away happily ever after! The end.

Friday, June 17, 2011

Day 17: 30 Days of Creativity - chalkboard kitchen jars

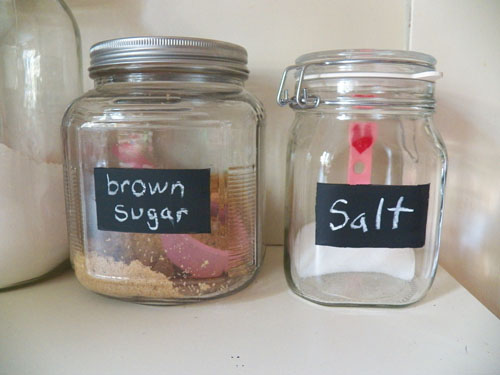
Now I am on a chalkboard painting rampage. I painted two more jars, for brown sugar and salt.

Looking for more things to paint. Considering Aaron's tool chest...

Chalkboard paint again the focus of Day 17 of 30 Days of Creativity.

Monday, May 16, 2011

Chalkboard Jars

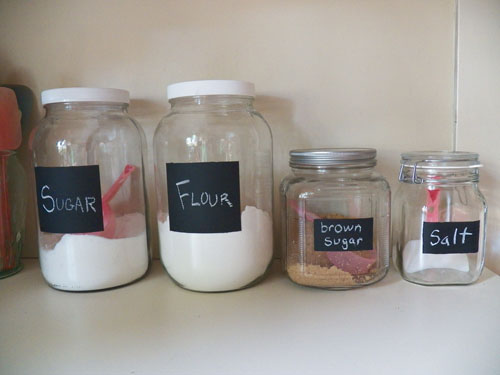
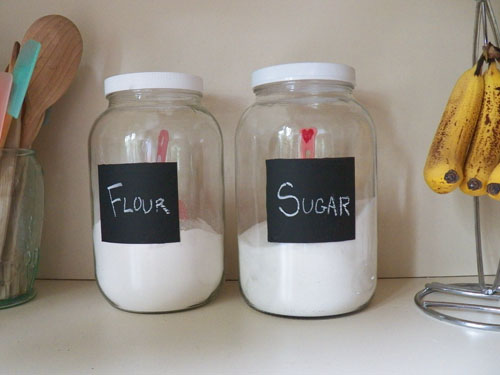
I am truly obsessed with chalkboard paint now. I made these jars for my flour and sugar.

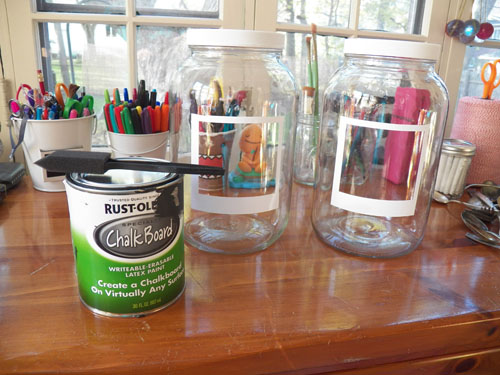
It was very easy. My mom gave me these big jars for terrariums, but I wanted to try this. I used the edge of label sticker paper to create a block.

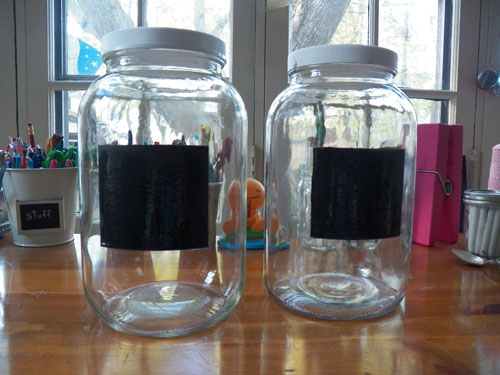
Then I just brushed on the chalkboard paint with a sponge brush. Easy peasy.